Making a Whistle
Dear readers,
I have spent a sweet few days in the back garden whittling some bits of wood (silver birch and sycamore) into a few whistles! So much fun that I thought I would share some helpful tips, and advice, on how I made mine. However, my method is by no means the best, its only how I made mine. Search around on YouTube and you ought to be able to find at least one tutorial you like to follow. But to follow me, please keep reading on!
I started with a piece of wood freshly sawn off a bigger branch. About 7 inches long. I used a knife to remove all the bark, the knots, and generally whittled away at it until it was all roughly about 2.5 - 3 cms in diameter.

Next I drilled a 6mm hole vertically through the top of one end of my piece. This will be your blow hole. Don't drill all the way through to the bottom. I'd say no more than half way down your piece of wood. Blow any dust out. Use a mini round file to lightly remove any burs and fuzz from the inside of the hole.

Next I sawed a piece of wooden dowel roughly 9cm long and 6mm in diameter. I placed it onto a piece of sandpaper on a flat surface, and sanded the piece until it was flat on one side yet remaining round on the other side.
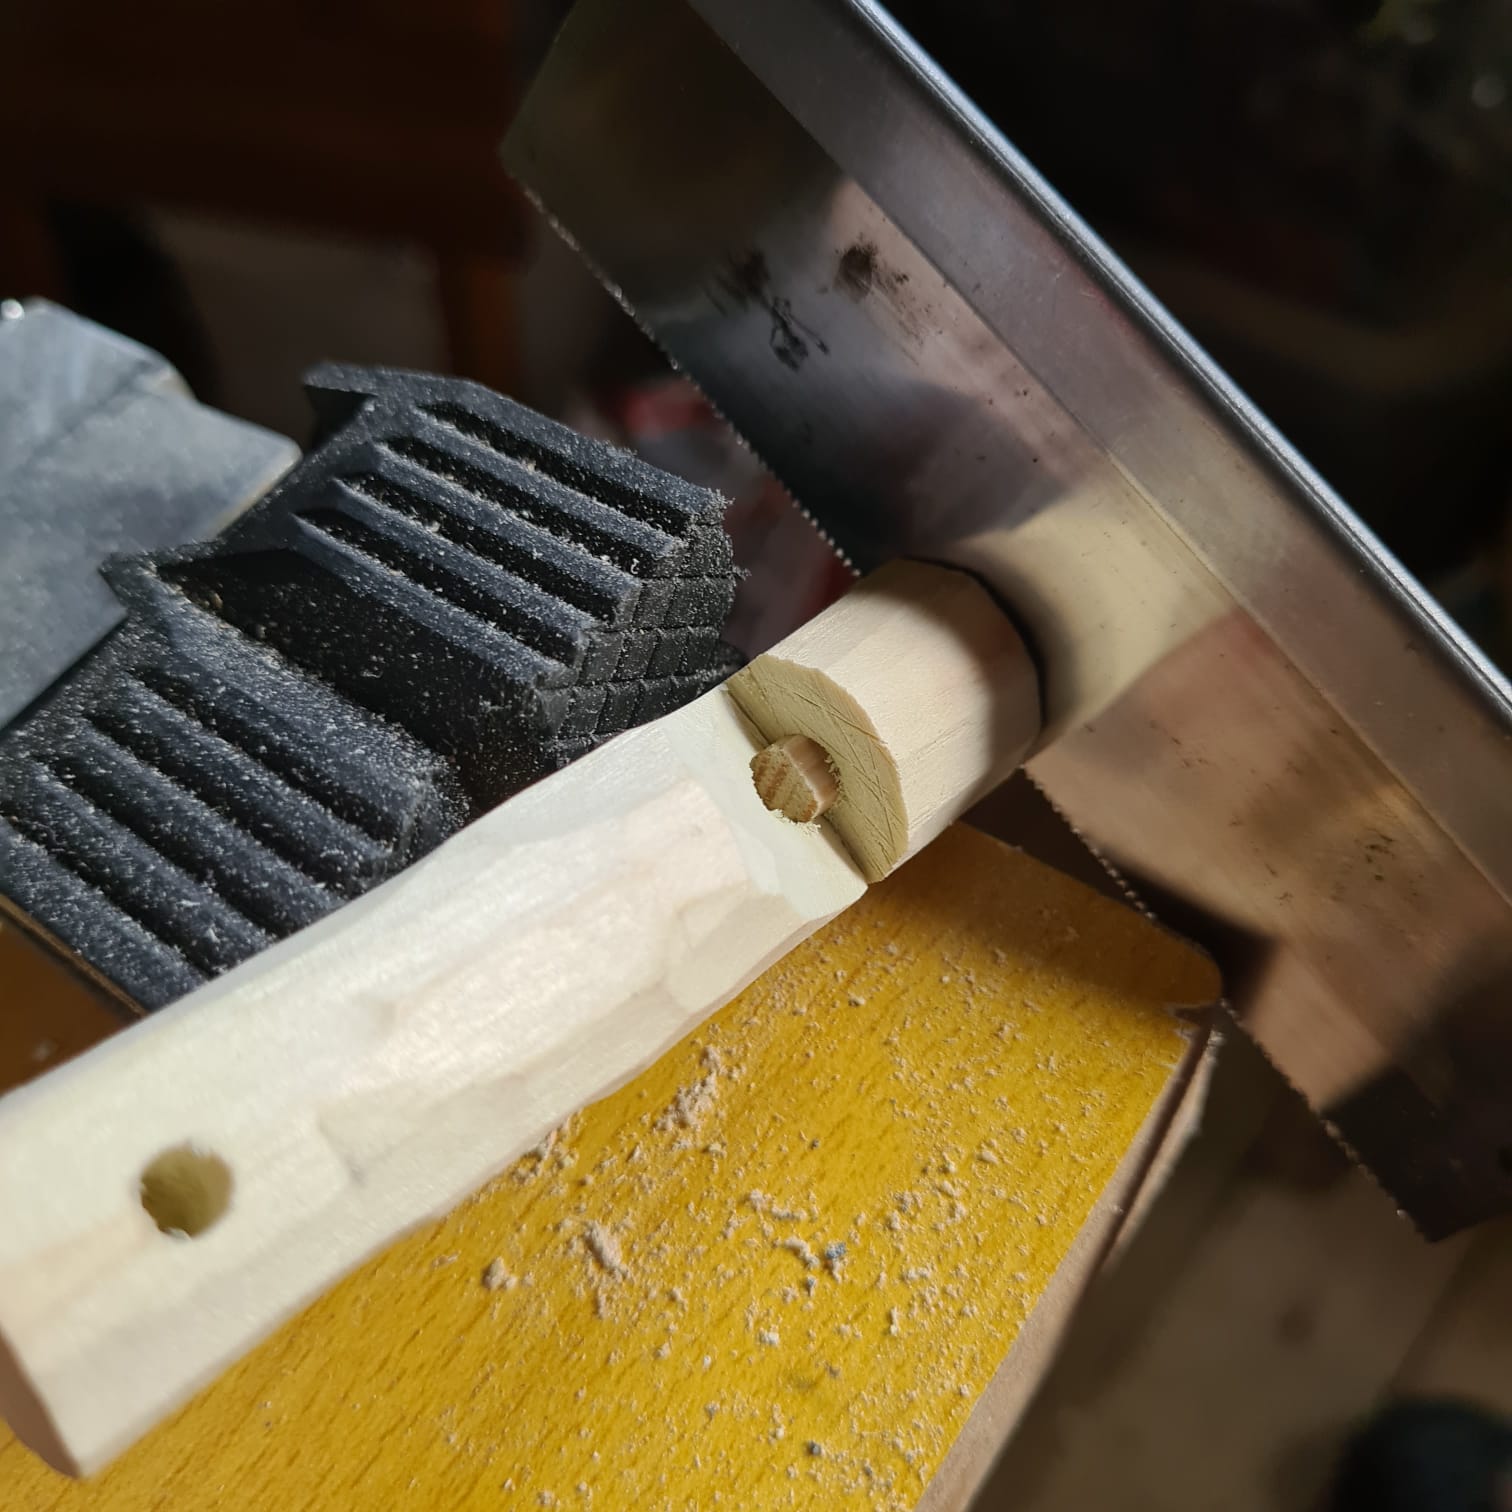
After this, I used a mini razor saw to slowly saw horizontally through the peice, about 2.5 cm from the top where your hole is.
Please keep checking by looking through the hole as you saw. You want to see the saw when looking through the hole, so just before halfway, then STOP. Don't saw all the way through.
Now you have sawn into the top, get your knife out and cut down into the saw line which will act like a stop cut. You want to end up cutting a slope down towards the air hole. Once you see the air hole, STOP cutting.

Then insert the dowel into the top of your whistle. You will need to slowly tweak how deep or shallow the dowel goes into the hole. Keep blowing, moving it in or out until you reach the point which gives you a clear whistle note. Sometimes the dowel doesn't fit, in which case use the mini round file to gently file the inside hole of the whistle - go slow and frequently check the fit, you can always shave more off BUT you can't use it if you've gone too far. If you still have no joy, sand the dowel on the flat side down a bit at a time, checking the fit, blowing again, and repeating, until you get a clear whistle note.
Once you have adjusted the dowel and made it whistle, use the mini razor saw to saw off the excess dowel from the top.


Once you have sanded your whistle, you can decorate it as you like. Here I have used a pyrography tool to burn some doodles on. The smell of burning wood is quite soothing, but please work in an area with plenty of ventilation. The smoke can cause you to cough.

Have fun decorating your whistle, put your own stamp on it - you can leave it plain and just finish off with wood conditioning wax, you can paint it using acrylic paints, or you can pyrography some doodles on. Add a hole at the bottom of your whistle to add a paracord lanyard! ANd now you have a handmade whistle! Enjoy!
Mary x


Comments
Post a Comment